Events
Events bring everything together for a live session. Group multiple presentations into an agenda, broadcast to different screens through channels, and create quick slides on the fly.
Creating an Event
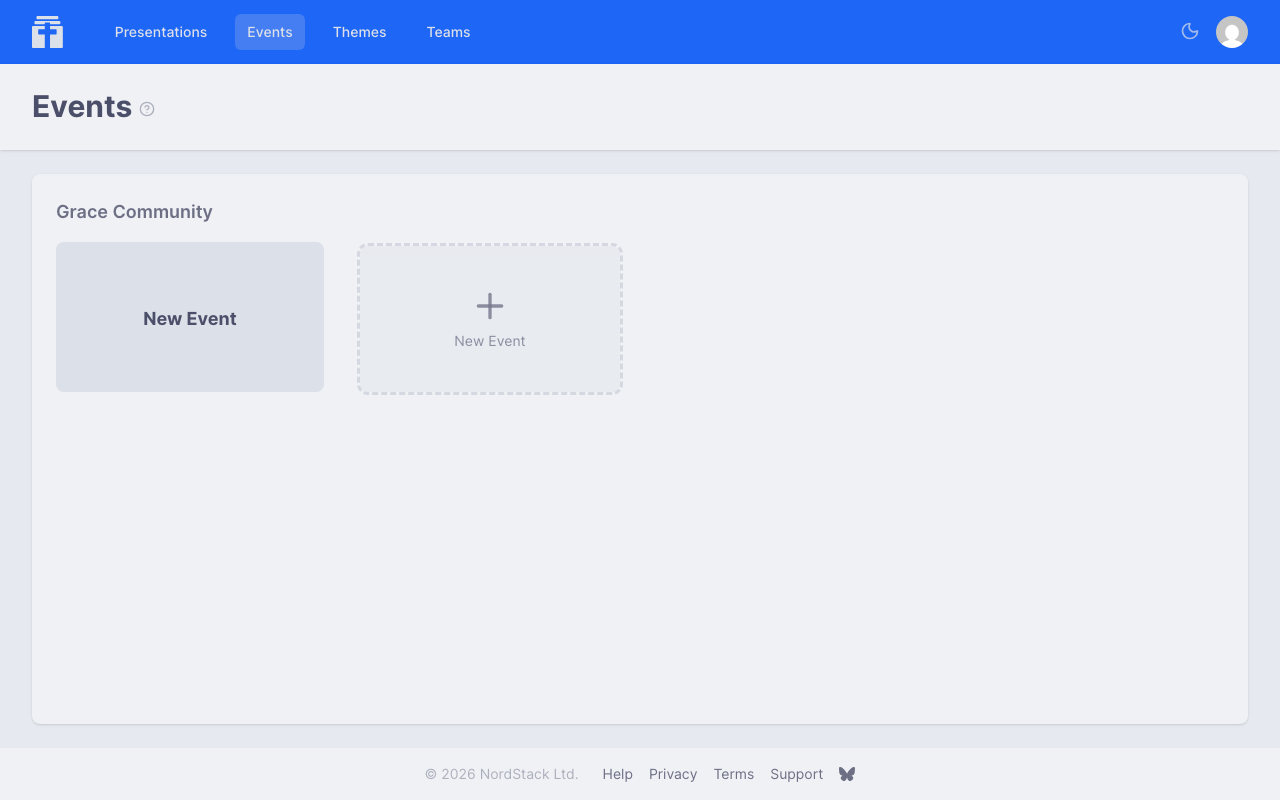
Events are owned by a team. Go to the Events page and click New Event, then select which team the event belongs to. Only members of that team will be able to access and manage the event.
Building an Agenda
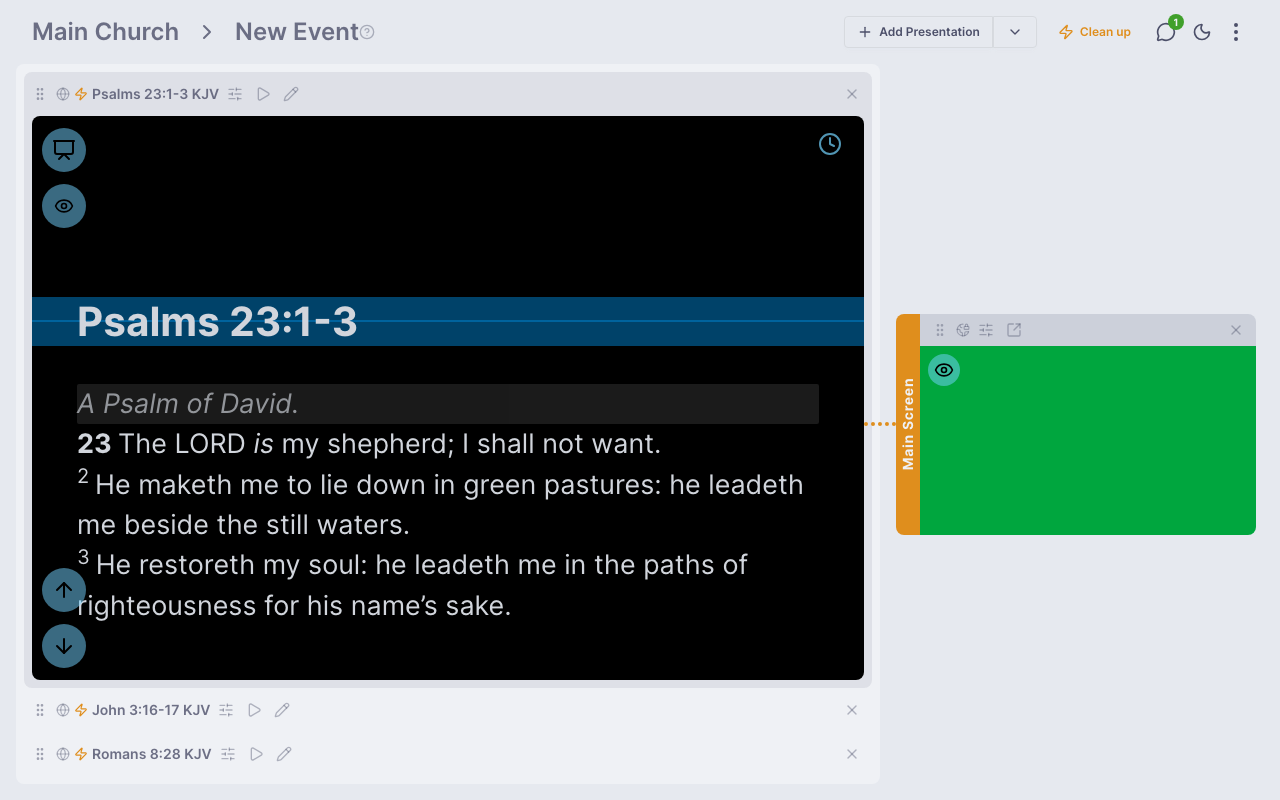
An event's agenda is an ordered list of presentations. Add presentations from your own collection or from any shared with the team. You can reorder them, and switch between presentations during the live session with a single click.
Managing a Live Event
The event page gives you a dashboard for running your session. From here, you can:
- Select which presentation is currently active
- Control the active presentation (navigate presentation points, blank screen, autoplay)
- Switch between presentations as your agenda progresses
- See which channels are broadcasting and what they're showing
Multiple team members can manage the event simultaneously — everyone sees the same state in real time.
Channels
Channels are the broadcast outputs of your event. Each channel has its own public URL that displays the currently active presentation. Think of channels as separate screens that can each show different content.
Types of Channels
Channels are flexible — you can set them up for different purposes:
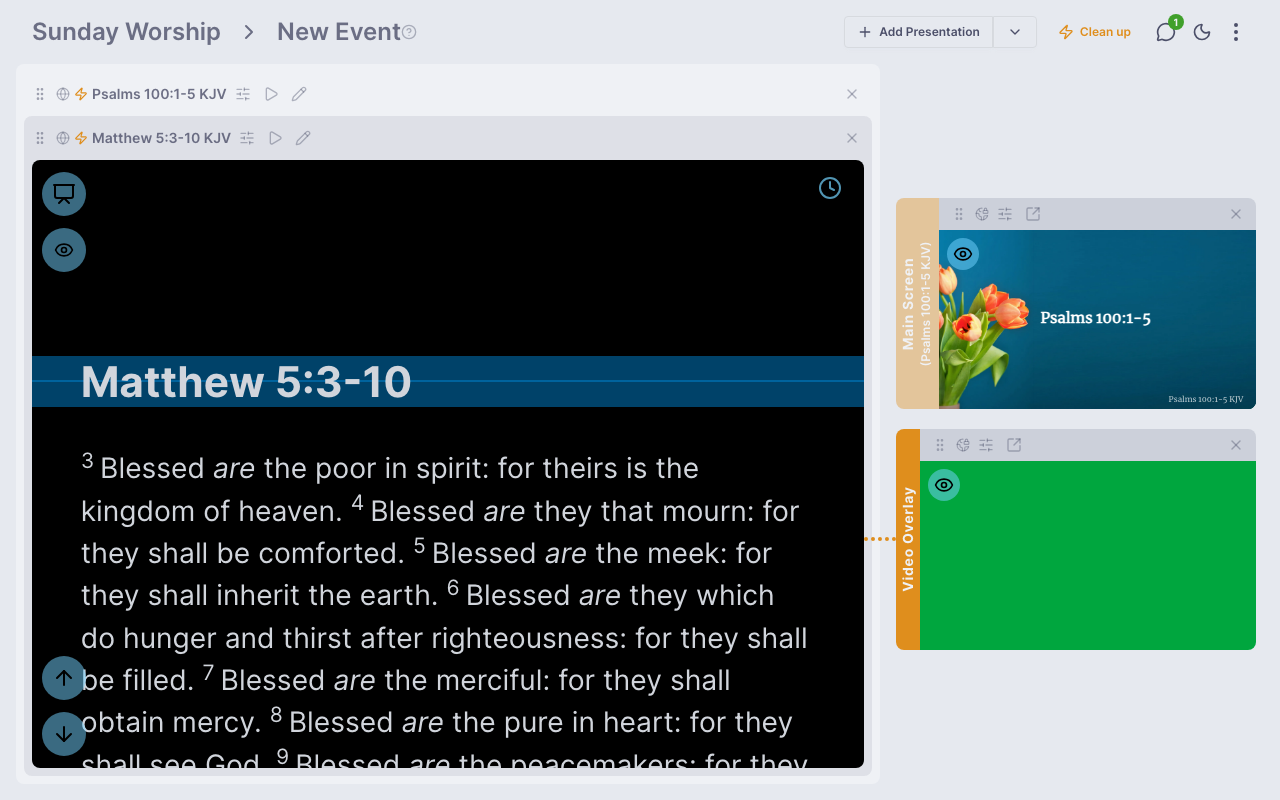
- Main screen — the primary projector or display for your audience. Show the current presentation at full size.
- Video overlay — a channel configured for overlay graphics on a video feed, often with a transparent or minimal theme.
- Audience devices — share a channel link or QR code with your audience so they can follow along on their own phones or tablets. This is especially useful for outdoor events where there's no shared screen.
Channel Toolbar
Each channel has a toolbar on the event page where you can:
- Select which presentation to broadcast on that channel
- Blank the channel's screen independently
- Toggle display options like highlight mode
Channel Settings
Open the channel settings by clicking the gear icon on a channel's toolbar. The settings panel lets you customise how a presentation appears on that specific channel — without changing the original presentation.
Theme Override
By default, each channel shows the presentation's own theme. Enable the theme override to select a different theme for this channel. This means you could show the same presentation on a main screen with a bold, colourful theme and on audience devices with a clean, minimal theme.
Layout
Controls where the presentation content is positioned on screen. This is especially useful for video overlay channels where you want text to appear in a specific region:
- Full Screen (default) — content fills the entire screen
- Lower Third — content appears in the bottom third, common for video overlay graphics
- Upper Third — content appears in the top third
- Left Half — content fills the left side of the screen
- Right Half — content fills the right side of the screen
- Inset — content appears in a centred strip, leaving space at the top and bottom
You can also enable Show Layout Controls to let viewers on this channel toggle between layouts themselves.
Text Alignment
Override the content's text alignment for this channel. Choose from left, centre, right, or use the default alignment from the content itself.
Options Override
Enable the options override to change text size, slide mode, reveal, slide content, and highlight settings for this channel independently of the presentation's own settings. These work the same as the presentation settings but only affect this channel's output.
Sharing
Controls who can view this channel and provides sharing tools:
- Public access — anyone with the link can view the channel
- Private — only team members can view it
The sharing section also shows a QR code and direct link. Display the QR code on screen or print it on a programme, and your audience can scan it to follow along on their own devices. The channel updates in real time — as you navigate points or switch presentations, every connected device sees the change instantly.
Quick Slides
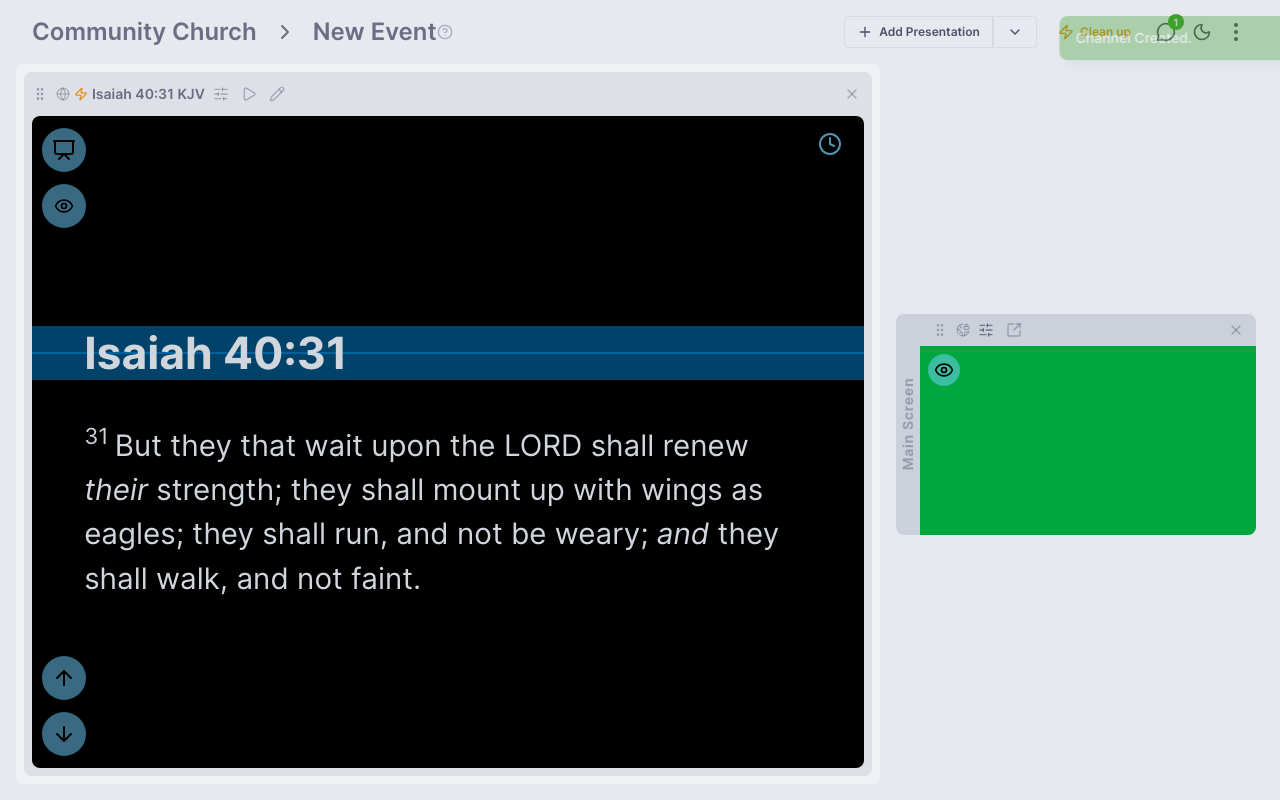
Quick slides let you create presentation content on the fly during a live event — perfect for unscripted moments like Bible readings, songs, or last-minute announcements.
Creating a Quick Slide
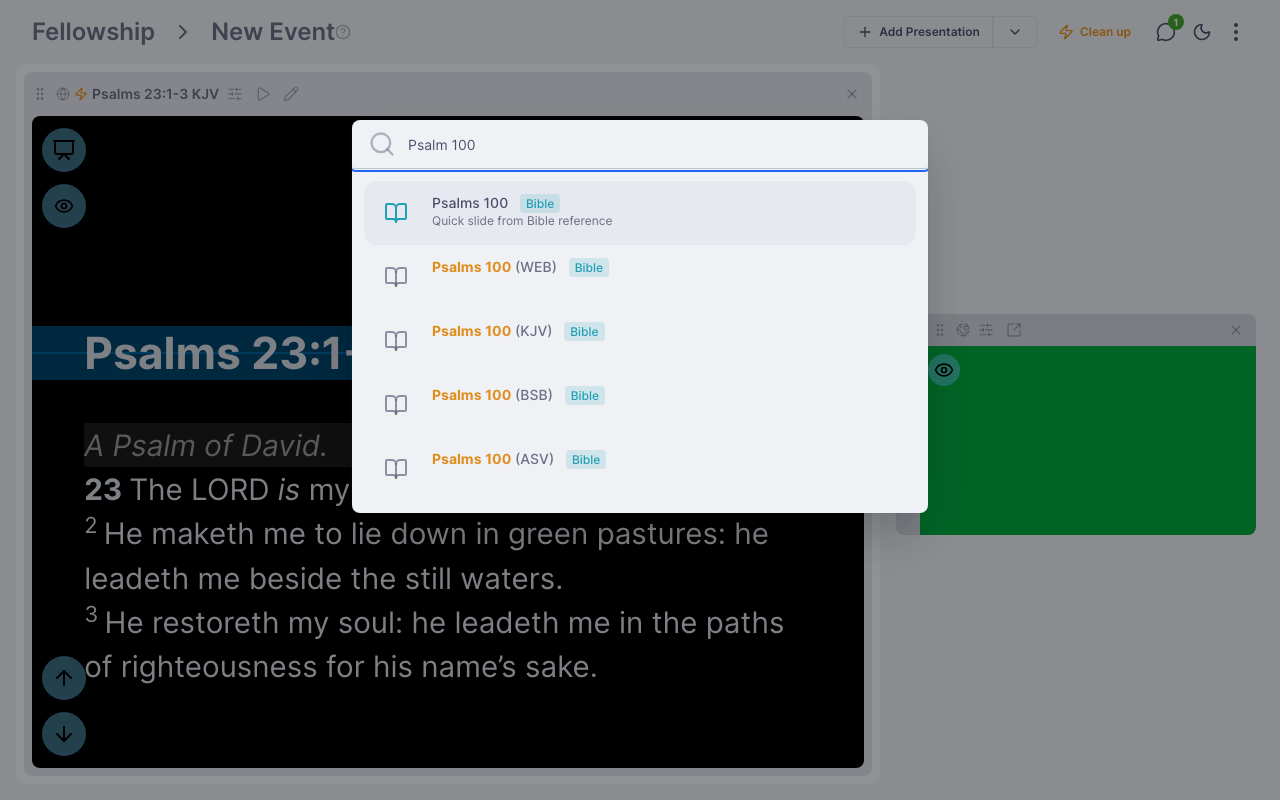
Click the + button on the event page to open the presentation picker. You have three types of quick slide content:
- Bible — type a Bible reference (like "John 3:16" or "Psalm 23:1-6 NIV") and Chapel Screen will find the verses and build a slide automatically. If you don't specify a translation, your team's default is used.
- Song — search for a song from the built-in hymnal. The lyrics are formatted and ready to present.
- Free text — a blank slide you can type anything into.
After selecting your content, you'll choose a theme, then either Add to List (adds it to the end of your agenda) or Present Now (adds it and immediately makes it the active presentation).
Managing Quick Slides
Quick slides are marked with a lightning bolt icon on the event page. They differ from regular presentations:
- They don't appear in your main Presentations list
- They're editable — you can tweak the content after creation
- When removed from an event, they're automatically deleted (unless they're used in other events)
- The Clean up button in the event header removes all quick slides at once
Converting to a Regular Presentation
If you create a quick slide that you want to keep permanently, open its Settings dialog on the event page and choose Convert to Presentation. It will appear in your main Presentations list and won't be auto-deleted when removed from events.
Deleting an Event
Deleting an event removes it from the team and cleans up any orphaned quick slides that were created for it. Regular presentations are not affected.